
Hosting tools
Set up email accounts and webmail
Create a HostRight mailbox, save its mail client settings, and access email through webmail or IMAP and SMTP.
HostRight email accounts give your website or business a professional address on your domain. You can use the mailbox through the hosted webmail interface or connect it to a desktop, mobile, or third-party mail application using IMAP and SMTP.
Before creating an account, make sure your domain is configured for HostRight email. If HostRight manages your DNS, the required records can be managed from your HostRight account. If another provider manages your DNS, follow Manage your domain with external DNS and add the required email records there. You can also review the domain connection guide.
Check your email allowance
Open your HostRight Control Panel and expand E-mail Manager. Select E-mail Accounts.
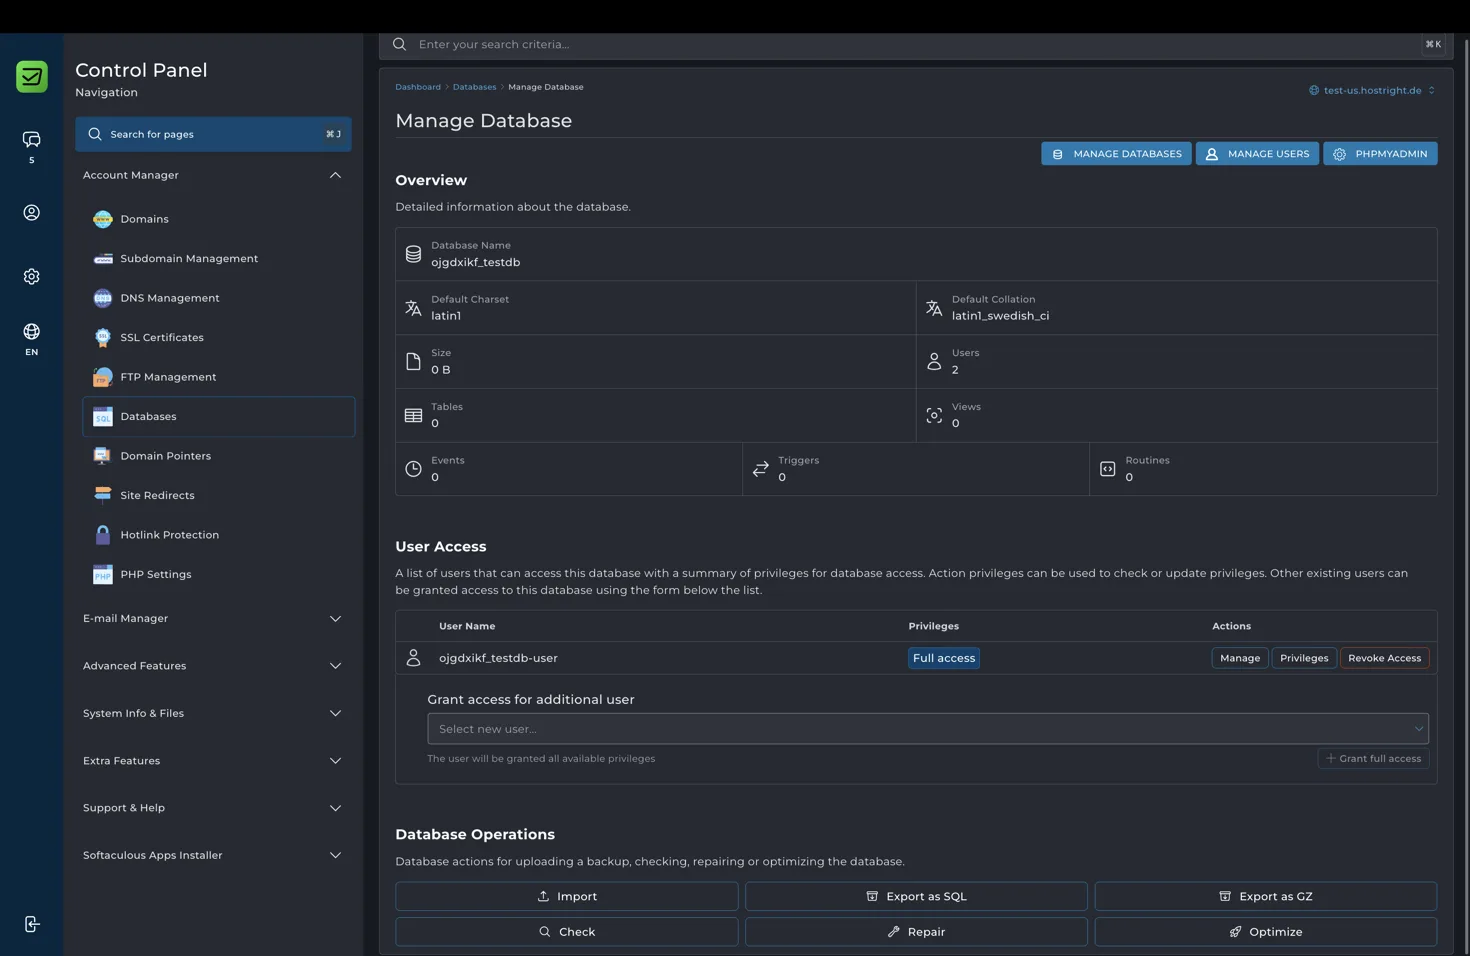
The page shows the number of email accounts available on your plan, current storage usage, sending usage, and the account limit. The exact allowance depends on your hosting plan.
Create an email account
Select Create Account. Enter the mailbox name, password, mailbox quota, and daily send limit.
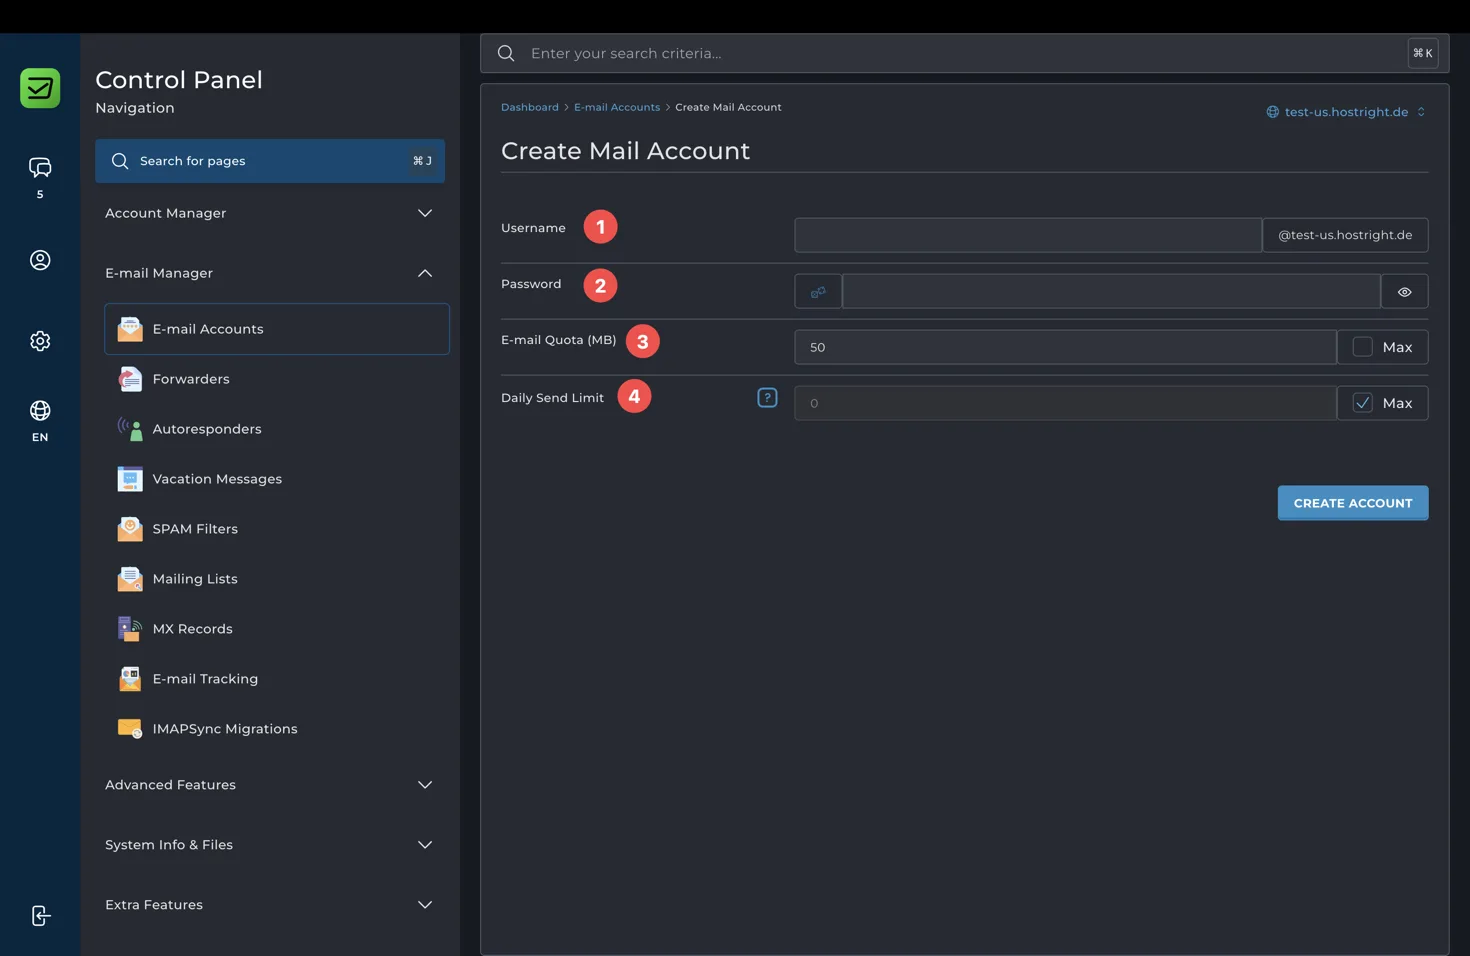
The mailbox name becomes the part before @your-domain. Use a clear address such as hello, support, billing, or your name. Choose a strong password and do not reuse it for another service.
The email quota controls how much mailbox storage the account can use. The daily send limit controls how many messages the mailbox can send in a day. Keep the plan limit in mind when creating multiple mailboxes or sending application notifications.
Select Create Account after reviewing the values.
Save the account settings
After the account is created, the Control Panel displays the login and mail server details.
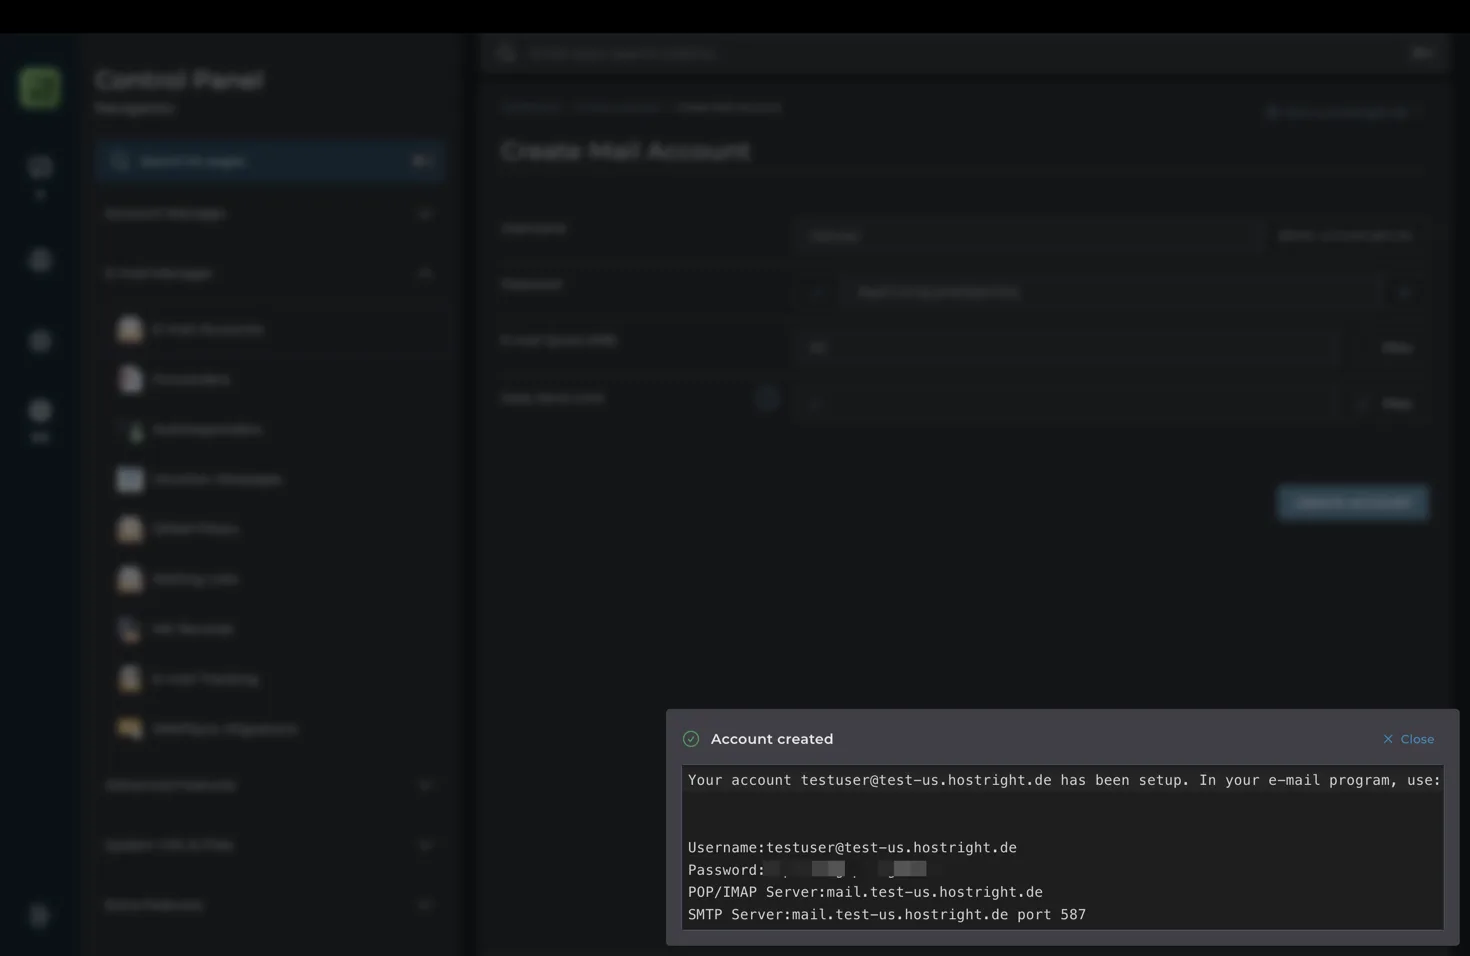
Save the username, password, incoming server, outgoing server, and port details in a password manager. The username is the complete email address, such as hello@example.com.
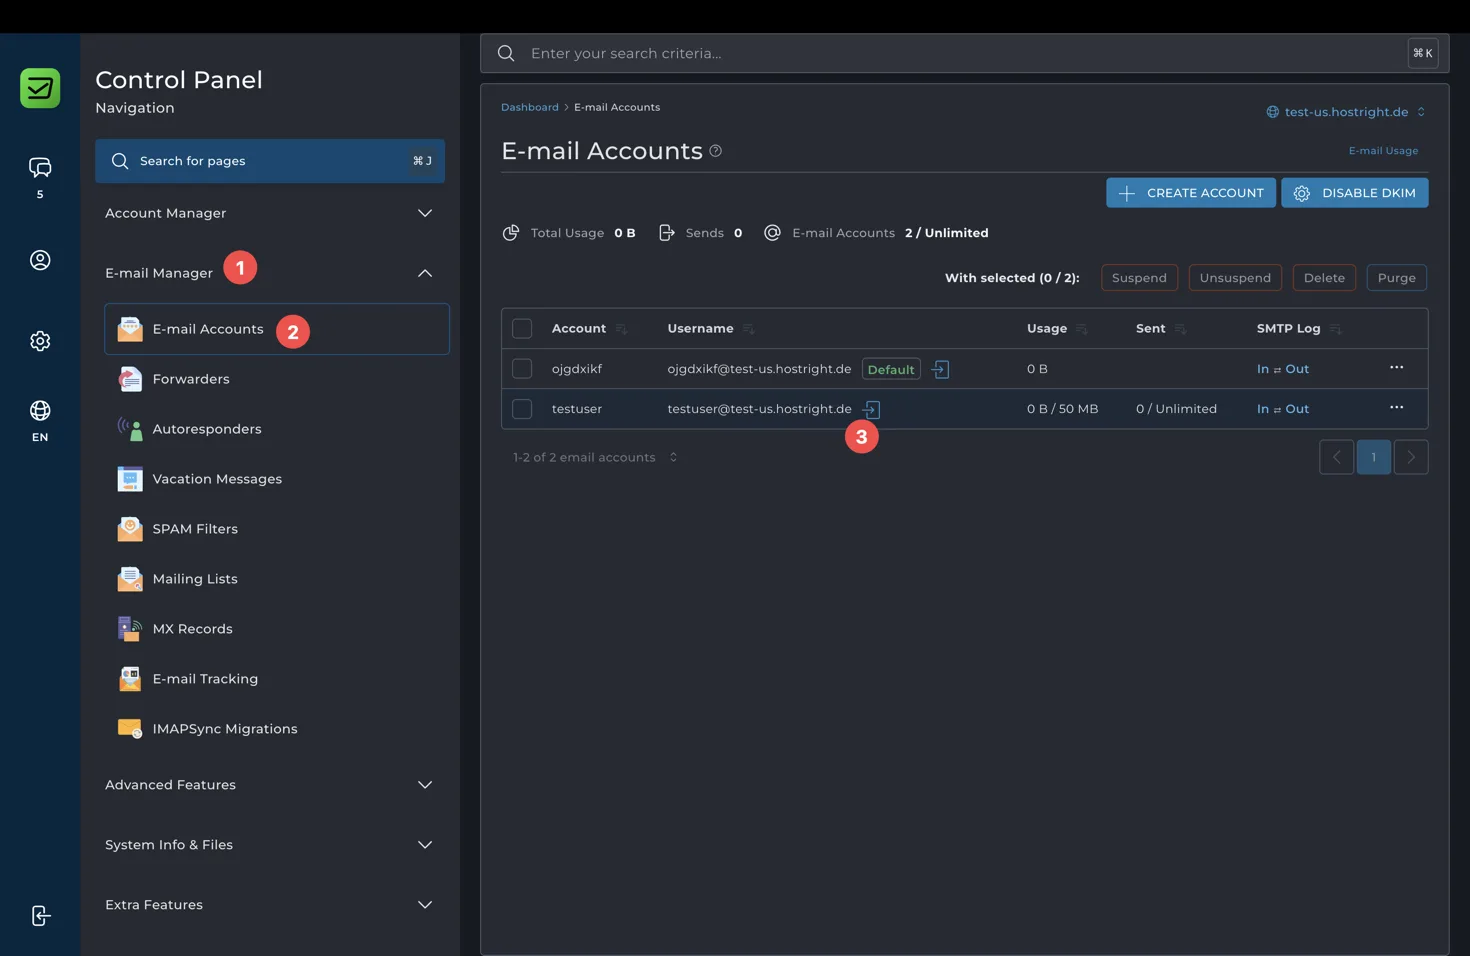
The account list will show the new mailbox after it has been created.
Access webmail
Select the login icon beside the mailbox in the email account list. This opens the hosted webmail interface.
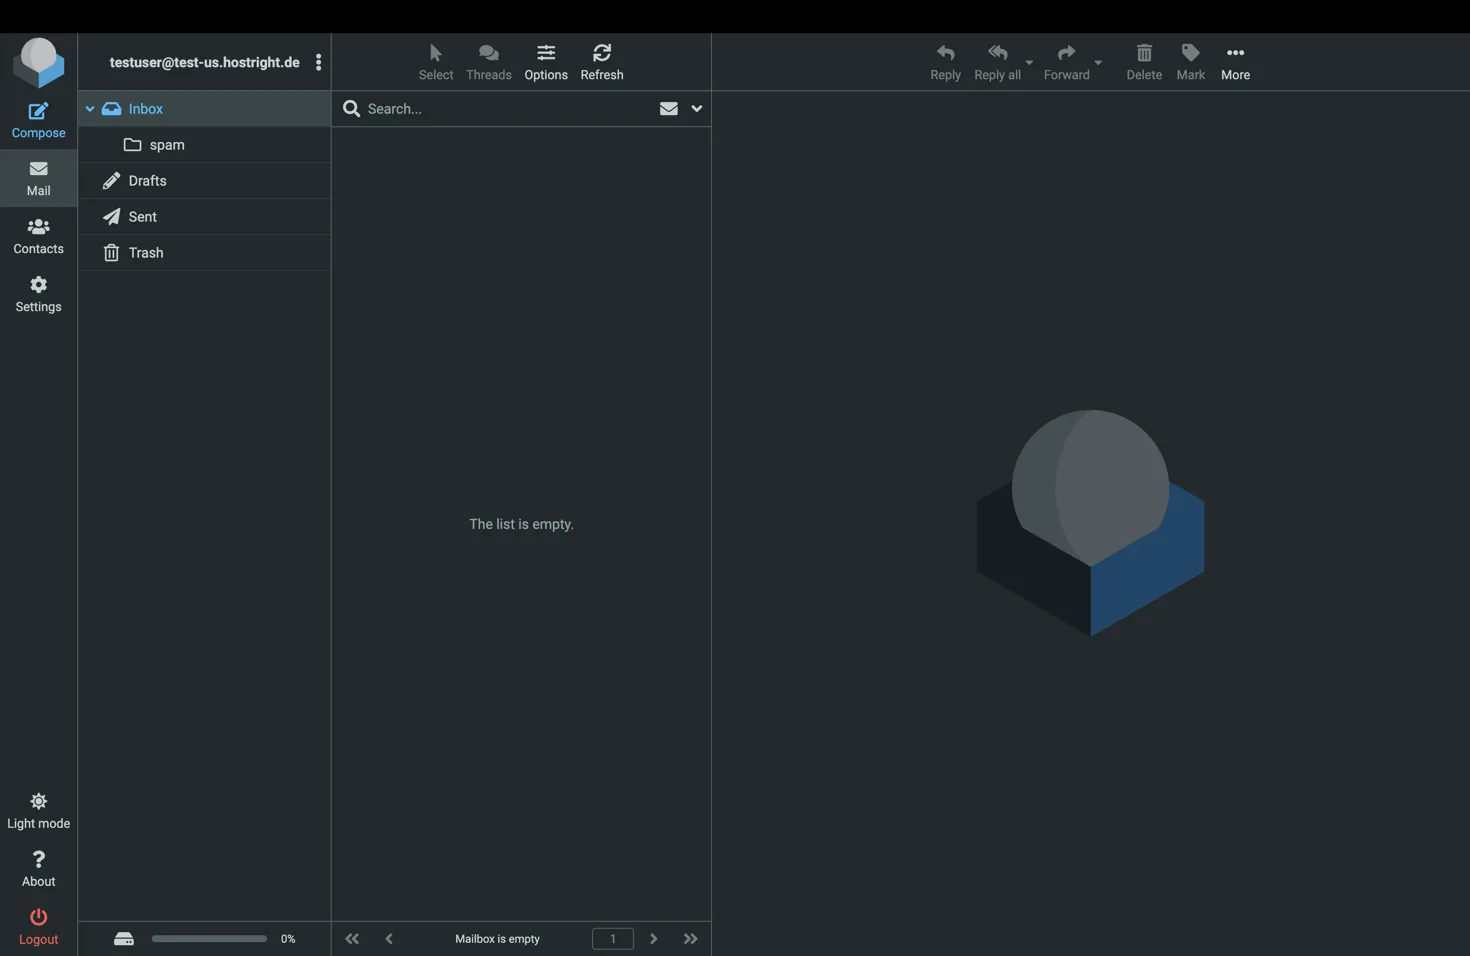
Webmail works in a browser and does not require an email application. You can read and send messages, organize folders, search the mailbox, manage contacts, and use the account from any supported device.
Configure an email application
Use the following settings when configuring a desktop or mobile mail application. Replace example.com with your domain and use the complete email address as the username.
- Username: your complete email address
- Password: the mailbox password
- Incoming protocol: IMAP
- Incoming server: the mail server shown in the Control Panel, commonly
mail.example.com - IMAP port:
993with SSL or TLS - Outgoing protocol: SMTP
- Outgoing server: the mail server shown in the Control Panel, commonly
mail.example.com - SMTP port:
587with STARTTLS
Some email applications offer SMTP over SSL on port 465. Use port 465 only when the application labels the security mode as SSL or TLS from the start. Port 587 with STARTTLS is the standard submission setting shown by the HostRight setup information.
Enable authentication for the outgoing SMTP server and use the same mailbox username and password. Do not use an unauthenticated SMTP configuration.
Troubleshoot email delivery
If webmail works but an external application does not connect, compare its server name, username, password, port, and encryption mode with the values shown in the Control Panel. If neither webmail nor the application can send or receive mail, check the domain DNS records and allow time for DNS changes to propagate.
The regular account backup process can include email accounts and email data. For a full recovery plan, see How to back up and restore your website.